Configure SSH connection
Contents
Configure SSH connection#
In most cases, you probably are developing on a remote linux server instead of your own local pc.
Here we will use the Penn State ACI server as an example demonstrating how you should configure SSH connection within vscode.
Step 1: Setup passwordless connection#
To set up passwordless SSH connection to a remote Linux server, you will need to generate a public/private key pair on your local machine and copy the public key to the remote server. Here’s a step-by-step guide to get you started:
Generate the key pair: Open a terminal window on your local machine and run the following command
ssh-keygen -t rsa. The command will prompt you to choose a location for the key pair, you can accept the default location by hitting enter, or you can choose to give it a specific name, such asaci_rsa. You will also be asked to provide a passphrase, but for a passwordless connection, you can leave this field empty by hitting enter.Copy the public key to the remote server: The public key is stored in the file
~/.ssh/id_rsa.pub. To copy the public key to the remote server, use the following commandssh-copy-id username@submit.aci.ics.psu.edu, this will copy the default id_rsa.pub key to the remote server. If you used a different name for the rsa key pair, you can specify it with the-ioption like this,ssh-copy-id -i ~/.ssh/aci_rsa username@submit.aci.ics.psu.edu
Generate the key pair:
Download and install PuTTYgen: You can download the PuTTYgen tool from the PuTTY website (https://www.putty.org/).
Start PuTTYgen: Once you have installed PuTTYgen, start the tool from the Start menu or by double-clicking on the PuTTYgen icon.
Generate the key pair: In the PuTTYgen window, click the “Generate” button. The tool will prompt you to move your mouse around the window to generate randomness for the key pair. Once the key pair is generated, you can enter a key passphrase or leave the field empty for a passwordless connection.
Save the key pair: Once you have generated the key pair, you can save the private key by clicking the “Save private key” button and specifying a location for the file. You can also save the public key by copying its contents from the “Public key for pasting into OpenSSH authorized_keys file” text box and saving it to a file.
Copy the public key to the remote server: Open a Command Prompt or PowerShell window and run the following command
type "C:\path\to\id_rsa.pub" | ssh user@submit.aci.ics.psu.edu "cat >> ~/.ssh/authorized_keys". ReplaceC:\path\to\id_rsa.pubwith the path to your public key file, user with the username on the remote server. Thetypecommand outputs the contents of the public key file, which are then piped to an ssh command that logs in to the remote server, appends the contents of the public key to theauthorized_keysfile in the.sshdirectory of the user’s home directory, and creates the file if it does not exist.
Test the connection: Once the public key is copied to the remote server, you can test the connection by running
ssh username@submit.aci.ics.psu.edu. This should connect you to the remote server without asking for a password. If everything is working as expected, you have successfully set up a passwordless SSH connection.
Step 2: Edit ssh config file#
To further save your time typing your user name and the remote server’s host name, we can setup the ssh config file as follows.
Click
F1to open the command palette, and typessh connectto search for Remote-SSH: Connect to Host, then click
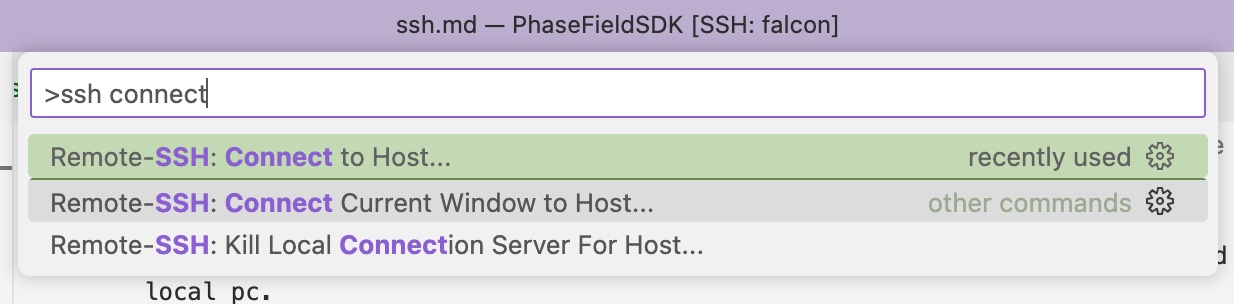
You will see two choices of Add New SSH Host or Configure SSH Hosts, select the Configure SSH Hosts

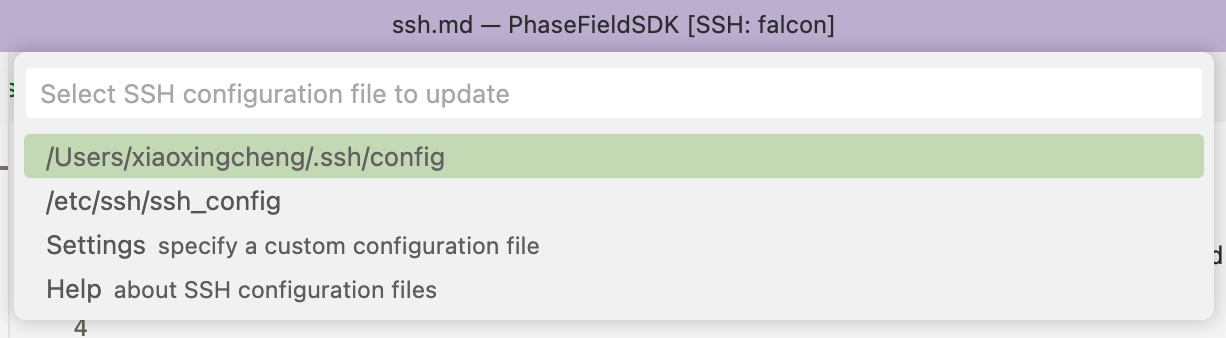
vscode will automatically detect available ssh config files on your system, you should choose your personal one instead of the system config file, and that ssh config file will be opened in vscode. To me that’s /User/xiaoxingcheng/.ssh/config
Change the User with your username, and the IdentityFile with the generated/uploaded rsa key pair name in the following code snippet. Then, copy and paste it into the opened config file.
Host aci
    HostName submit.aci.ics.psu.edu
    User username
    IdentityFile ~/.ssh/aci_rsa
    ForwardX11Trusted Yes
    ForwardX11 Yes
Step 3: SSH login#
Open vscode
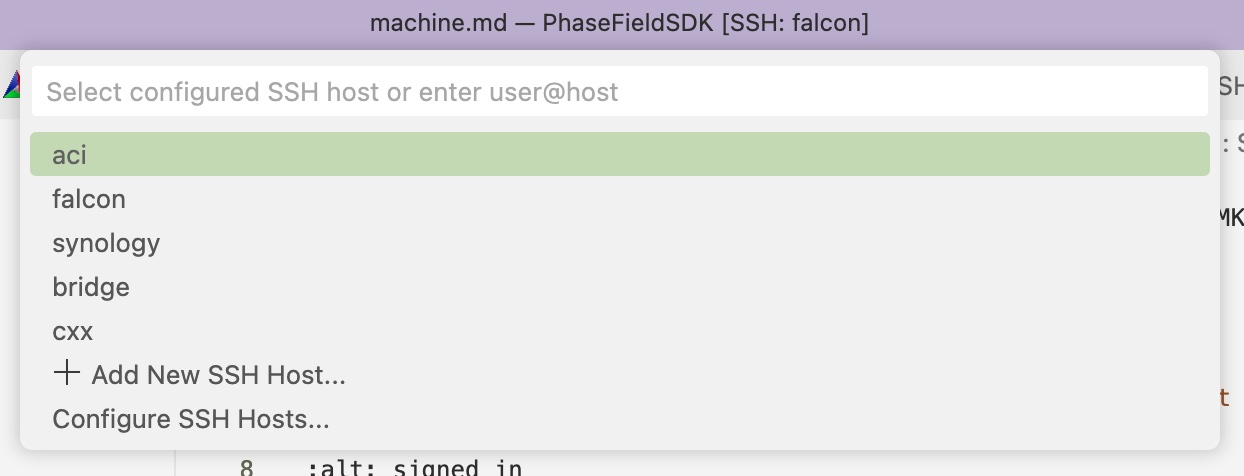
Click
F1, typessh connectand clickRemote-SSH: Connect to Host
Choose
aci, which is theHostwe defined in previous step.
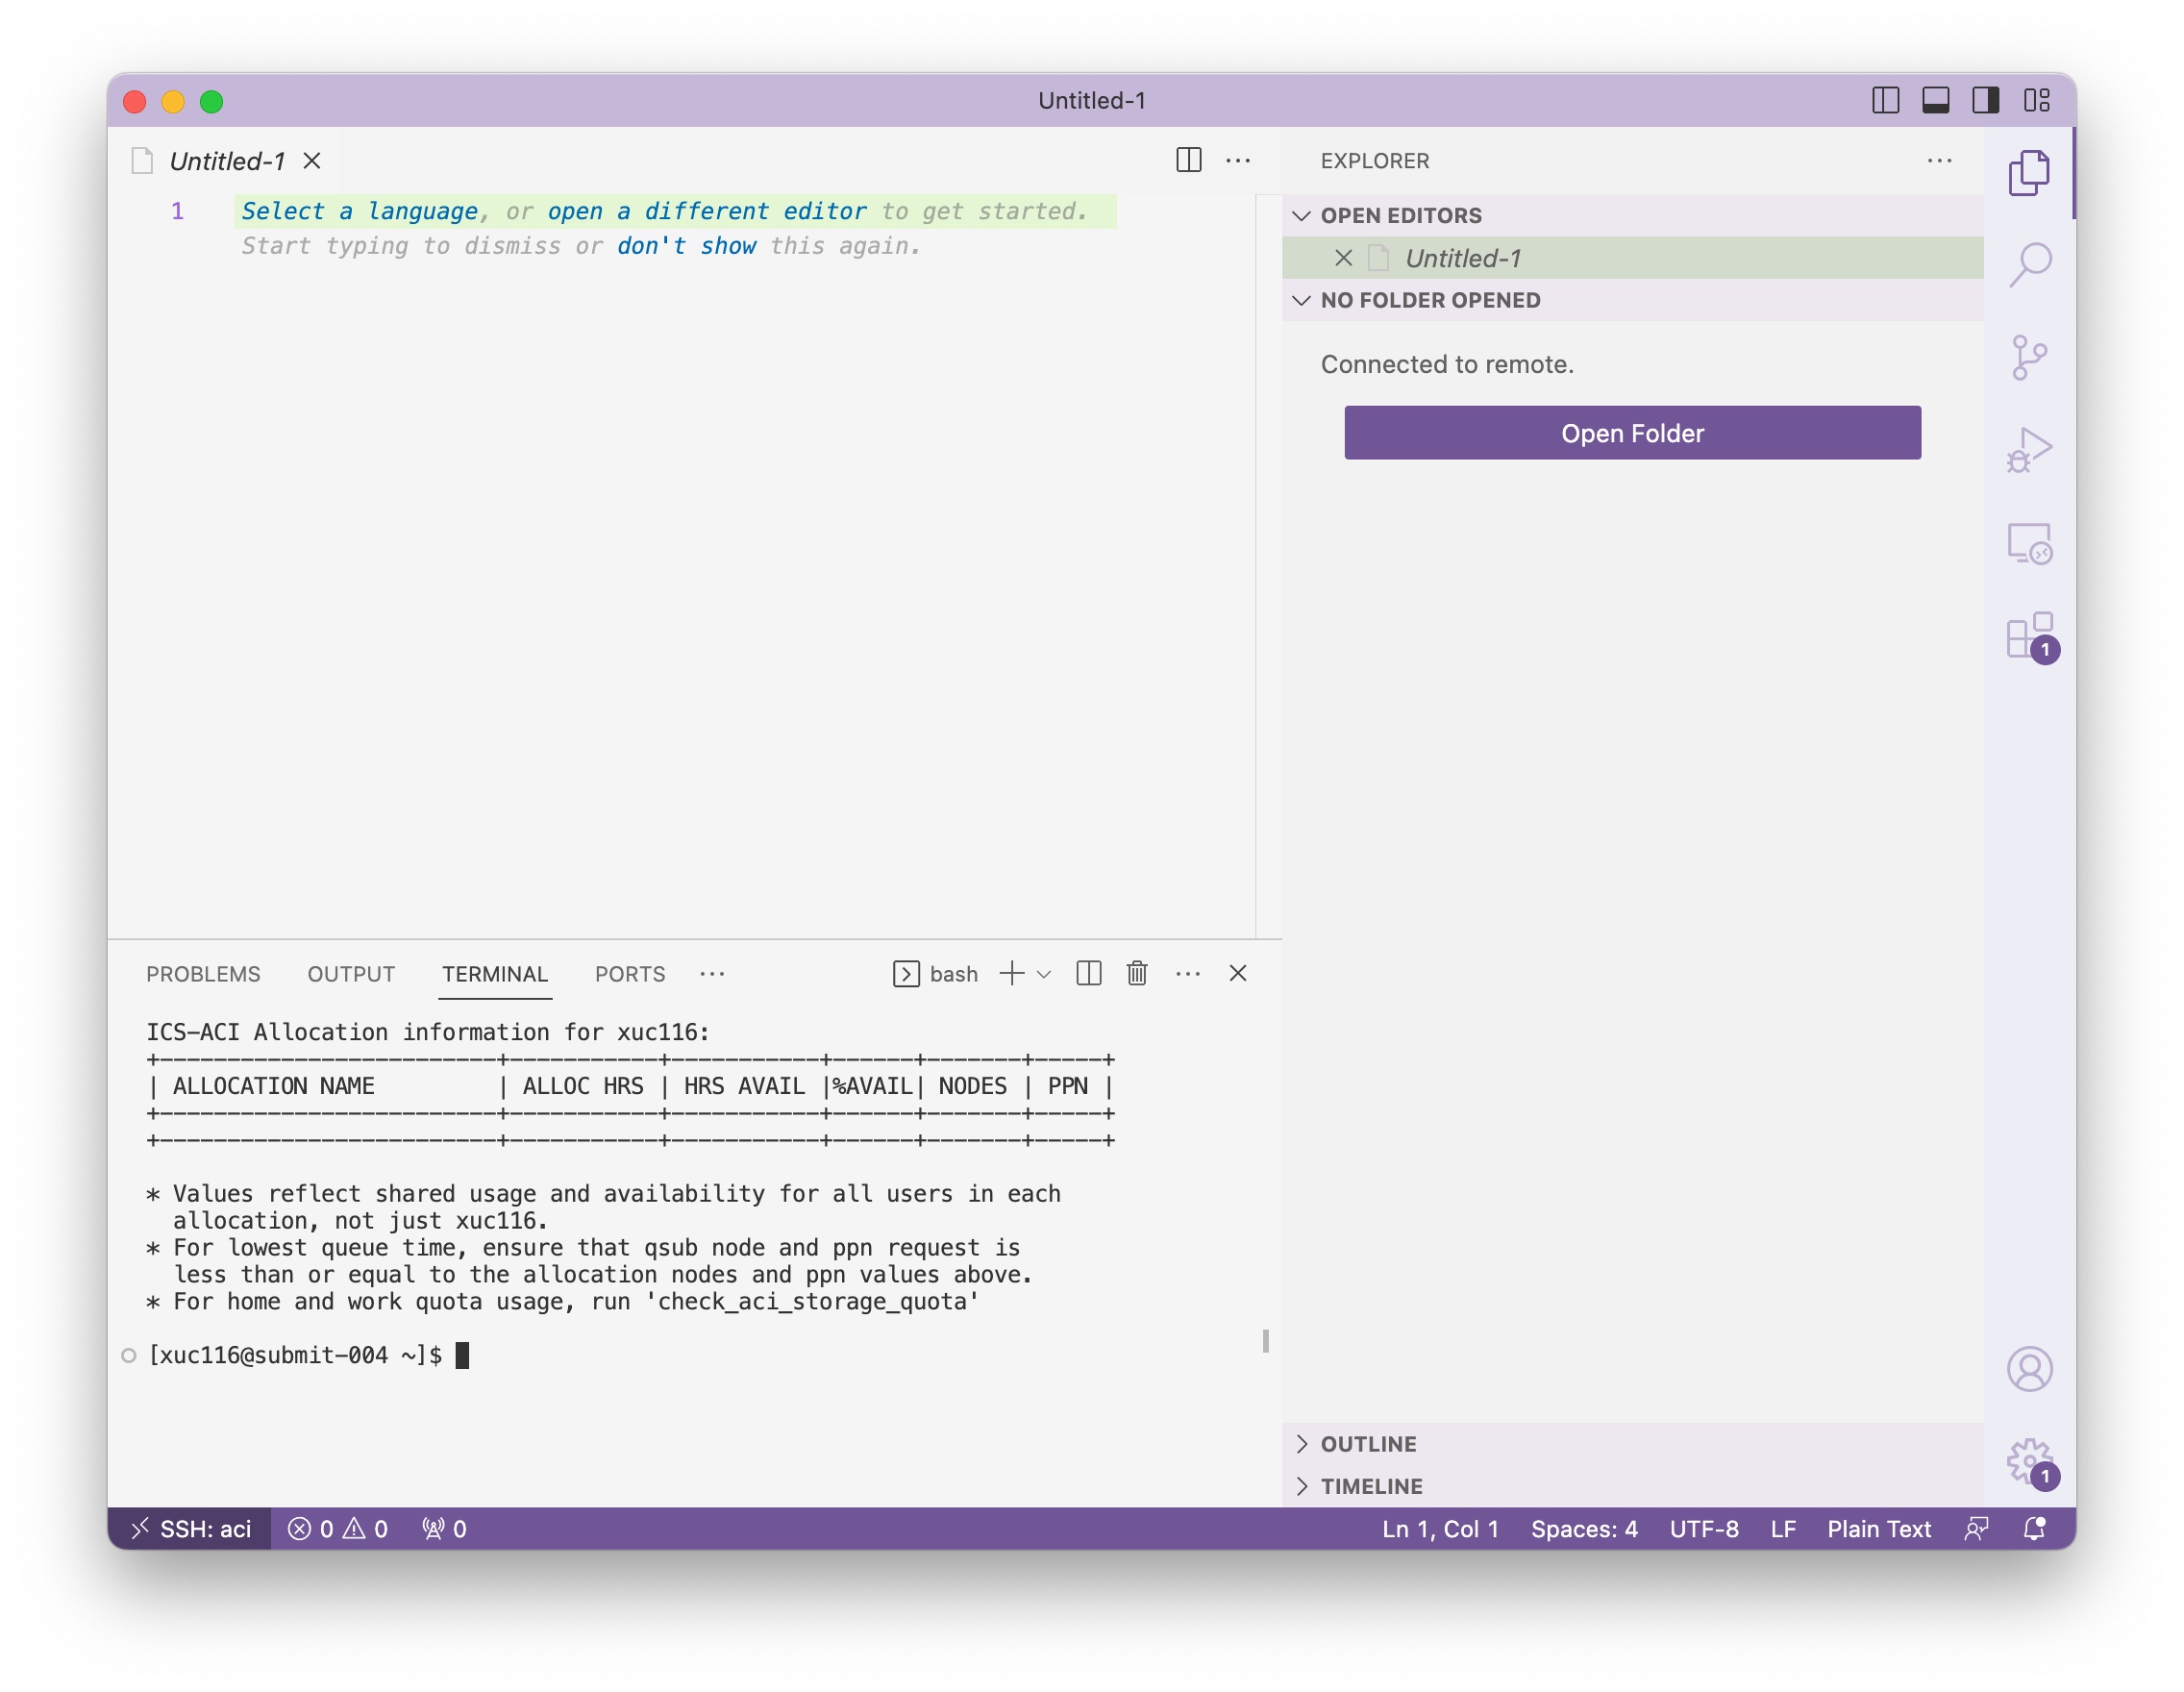
You will see an interface similar to this one, and we can use the terminal to perform any command line tasks in the future. If you don’t see the terminal panel, you can use the shortcut
ctrl+`, or clickView/Terminalin the menu.